Showing posts with label we play. Show all posts

Sunday, October 30, 2011

Cardboard Tree House


   When I first saw the instructions for making a cardboard tree house in the October 2011 edition of Family Fun Magazine, I just knew my little ones would love it. So while they were having afternoon naps last Monday, I quickly printed the templates (you can download them here) and constructed our tree house in about 45 minutes. The original had three stories, but I had enough cardboard for only two AND I was just not up for adding the paper towel chutes. I think ours came out pretty cute all the same!


    The following afternoon, while the bambinos were napping, I set it up on a piece of green felt and added Sweetpea's Sylvanian Families. They woke up to find some sweet, real-life friends visiting us, and around here friends are always better than any toy, so they didn't pay too much attention at first. But when we were on our own again, some serious playing got underway!!

    Sweetpea gave the whole set-up one look and declared that the  tree house was on a farm and that the Sylvanian Families daddies are all farmers. I was asked to fetch the plastic farm animals from the toy closet while she went off to her brother's room for play planks, which were immediately turned into corrals and paddocks for the animals (who were neatly arranged according to breed!) She added a bridge, and one of ArrowBoy's cars became the preferred mode of transport for the Sylvanians.


    Arrow waited until his sister was done playing and had packed away her 'props' before he moved his wild animals into the tree house!

   My children can be quite unpredictable in what they like to play with and what not, but when Sweetpea thanked God for the lovely tree house during family devotions that evening, I was so happy to have taken the time to make it for them!

Monday, October 24, 2011

Masking tape roads on a stay-inside-day

   When a rather cool spring day kept us indoors for the most part, I remembered a photo I had seen on Pinterest last week of a very clever mommy who used masking tape to map out roads for her son's Hot Wheels on their living room carpet and furniture. (I could not find a blog/site to see where the idea originated, but you can click here to view the picture I am talking about).

  Sooo.... out came the roll of masking tape, and here's how Sweetpea and ArrowBoy spent the morning!


If you look closely at the photo above you can see the road going up and over the armrest of the couch!! It then turned right across the seat to connect again to one of the main roads on the carpet.

See the airport above in the bottom right hand corner? And opposite that is the site from where various (tiny) construction vehicles are dispatched to new building sites all over Carpet Town! And in case anyone is really studying the details of these pictures: Arrow is wearing a rather garishly shining nurse's outfit over his clothes - he found it in his sister's dress up box and when we were reading Nurse Nancy prior to 'building' our roads, he wanted to play the part! (Really need to order Doctor Dan  for him a.s.a.p!!)


Tuesday, August 30, 2011

Mama-made Toys: Stick puppet theater

Oooohhh, I am just giddy giddy glad to FINALLY have gotten around to making a puppet theater for the children!! It took some serious thinking, because I wanted something they could play with themselves, too, and since they're still a little young, they would rather be seeing the action played out, than be stuck behind the curtain putting on a show they can't watch. The solution was a table-top theater for stick puppets.


I started with two sturdy boxes, and cut a slit in the side of one. This would become the floor of our stage, through which the puppets are slipped.

For the background, I used fabric glue to glue down two pieces of felt. I chose felt so that we can later add other felt elements or 'props' to our background depending on the play we are putting on! The bottom of our stage got the same treatment, making the slit I cut in earlier, nice and smooth for the puppets to glide back and forth. I then covered the sides and back of the box in some fun polka dot gift wrap.
Next, I attached the first box (i.e. the stage) to the second box, which would serve as its stabilizing base. This also allows us some space to fit our hands in under the stage to manoeuvre the puppets.
The curtain 'rail' is just a length of ribbon strung across the top of the stage and secured on the outside with two wooden beads. 
I painted the base blue, and sewed some ribbon ties to the curtains to keep them in place while the show is on.

Our first set of puppets were hand drawn and coloured by yours truly, and then popped through the laminator and glued onto popsicle sticks. The characters are from the 1970's Japanese Anime version of Heidi - this was one of the first children's shows on South African television and the first TV program I can recall watching. So last year my mother gifted my daughter with a set of DVD's of the first 25 episodes, and Heidi is now about as much part of our family as any of the actual flesh and blood members!!

Here are the characters:


And here they are on stage, with some felt props in the background!!


I also found these printable Community Helpers  which we printed, coloured and laminated. Will keep you posted as our repertoire of shows grows!!


Thursday, July 28, 2011

Rainbow Tutu for my little princess


   One of the thousands of little things I just love about our daughter is the fact that she is such a contradiction of terms. For example, at the moment she spends most of her days dancing and dressing like a ballerina princess, while obsessing about all things Lightning McQueen! I so enjoy her being this age and to watch her loving things so passionately! And it gives me such a thrill to encourage her interests. So after reading Angelina Ballerina for the umpteenth time one night, I decided it was time to make the girl a tutu of her own. I found a great, very simple tutorial here and whipped up this little number in no time!

   Later that week we were invited for a princess-themed play date over at Trudie's from Fun with Little Mouse, and I thought a felt crown would be a fun addition to Sweetpea's outfit. Found a sweet little tutorial here - and had so much fun sewing those darling felt flowers!


  The play date was super fun, by the way!! Even the Little Prince had a great time! They decorated crowns...


...and cupcakes...


...and enjoyed every bit of it!!


Thursday, May 26, 2011

Play and Learn with Mama: Handa's Surprise Part 1

We had a whole week of fun with this lovely book near the end of summer, when most of the fruit in the story were in season and still plentiful. For the first time since my children's birth, though, we are really struggling with winter colds and flu, and the past month or so has been crazy, so I apologise for only getting around to posting about this now.

Handa's Surprise (we did the Afrikaans version, Handa se Verassing) is a beautifully illustrated book set in Kenya, that tells the story of a little girl named Handa, who decides to surpise her friend Akeyo with a basket full of delicious fruit. On the way to Akeyo's villiage various mischievous animals help themselves to the fruit in the basket on Handa's head, and by the time she delivers the gift to her friend, Handa is just as surprised as Akeyo to see what is inside the basket!

Here are some fun Handa-inspired activities we enjoyed: 

Making funny fruit faces courtesy of printables from Making Friends.


Practicing pre-writing skills with an apple push pin card from abc-teach. We used a piece of foam under the card and the stylus I bought from Nucleus Toys.


And one morning we had a ton of fun with apple-printing:

We printed and painted a branch from an apple tree (the sun's rays were printed using apple slices) 


Apple faces stick puppets. (While the children were enjoying lunch that afternoon, I put on an impromptu puppet show using these guys and the children laughed so much they had a hard time finishing their sandwiches)


We printed and coloured paper dolls from Making Friends and dressed them in cloth dresses. I then set up a little play scape for Sweetpea to use in retelling the story. The huts were toilet paper rolls cut in half, and we glued some packaging straw onto paper roofs.


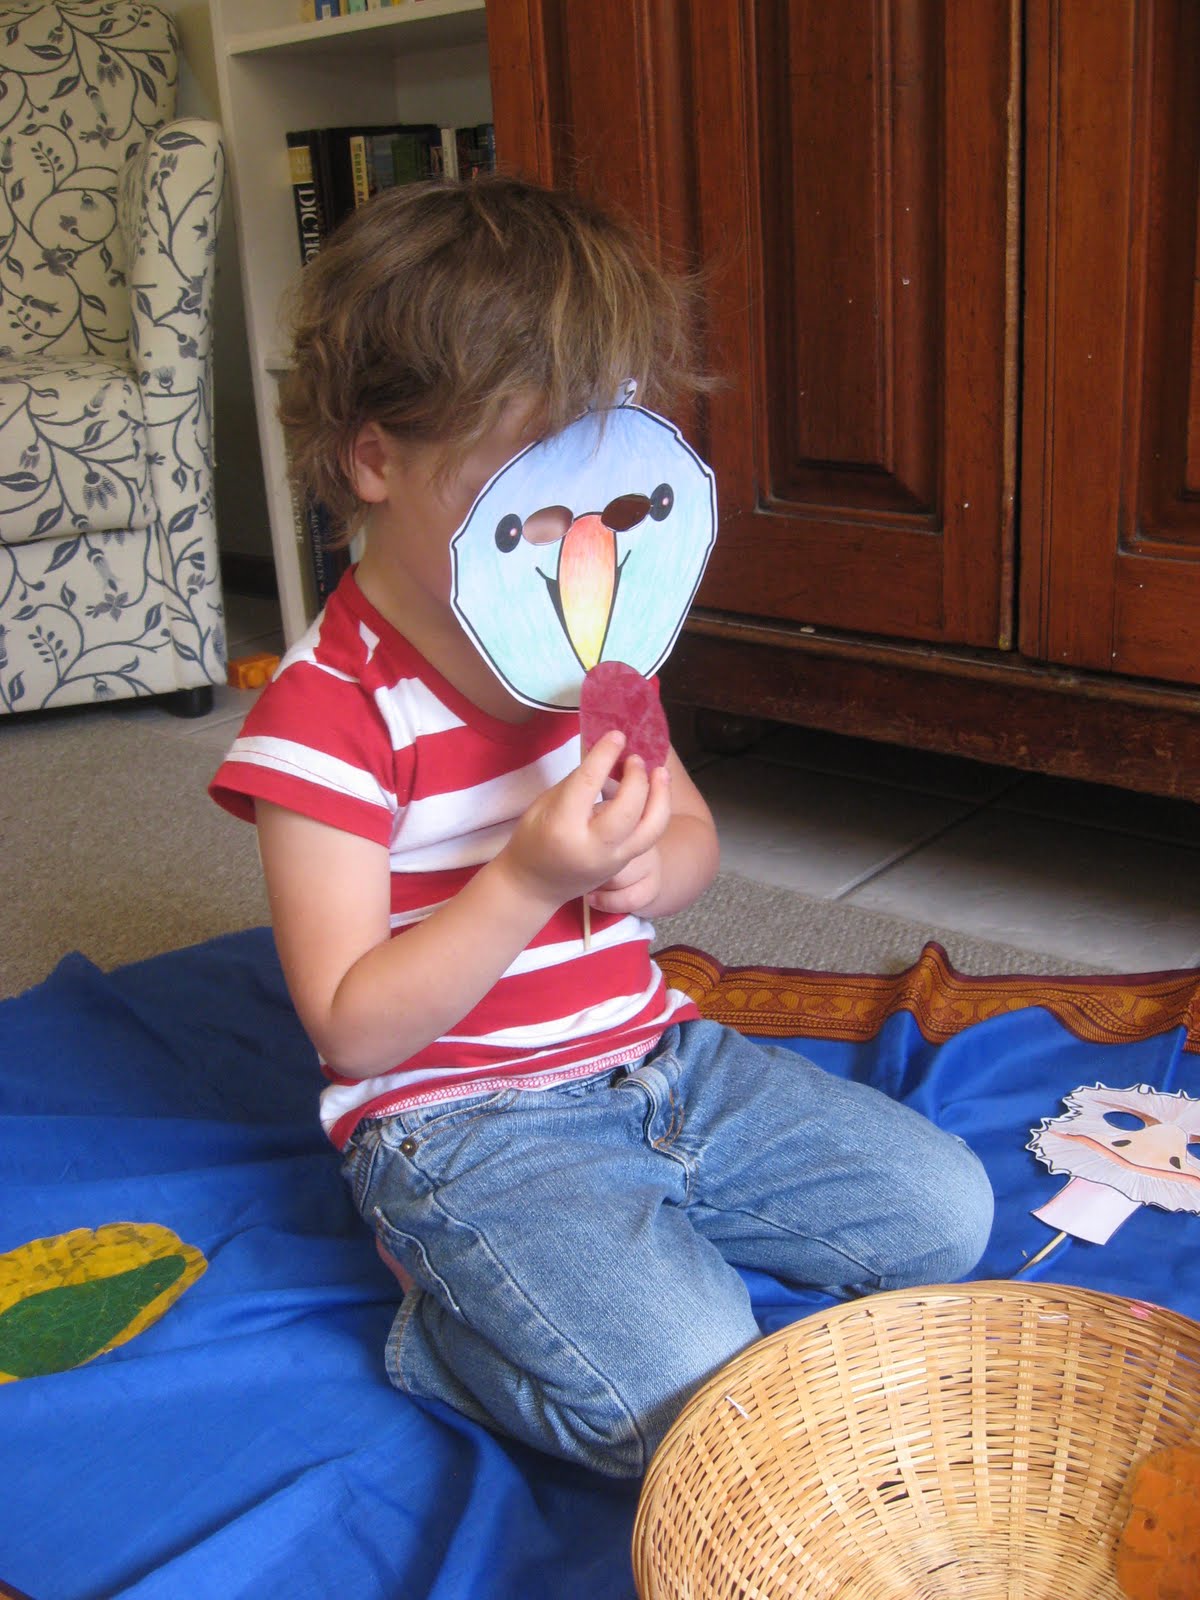
Acting out the story with the paper dolls was such a hit, that we took it one step further and 'became' the characters ourselves! I bought the fabric that is wrapped around Sweetpea during a missions trip to Kenya in 2005 (the same trip on which I met my husband!). The animal masks were printed from Sparkle Box (see * below) and they are still a favourite plaything around here! (You can also download a full-colour version, but I had fun colouring ours myself). It was the first time I'd introduced masks into our play and the children were fascinated by it. Days later we were still acting out little conversations between the animals.


* Sparkle Box has an amazing collection of free Handa's Surprise resources to download and print, including a story pack, individual story cards, page banners and play dough mats to name just a few. Click on the link to visit their Handa page.


Tuesday, April 5, 2011

Our new 'neighbour'

   Remember the pretty little juice box village I made for Sweetpea last year?


   Well, I've been having a hard time throwing away empty juice boxes ever since, so I was delighted when I stumbled upon instructions for making a felt covered version. The original was a gingerbread house, but since Sweetpea is not familiar with the story of Hansel and Gretel yet (we are avoiding stories with witches for now), ours is just a fun hearts and flowers version!


   I made the doll as a cake topper for Sweetpea's third birthday cake, and just refashioned her a bit into a cheery little juice box home owner with a brood of pet baby chicks!!


   The felt elements of the house are not glued down, so Sweetpea can decorate it afresh every time she plays with it - today the windows are at the side of the house, as is the bird house, but who knows where they will be placed next time. And right now the flowers are growing beside the foot path, but tomorrow they may be festooning the sides of the roof. How fun!


I am linking this up to


and

Wednesday, December 15, 2010

Really cheap fun!

   Each year about this time I get the uncontrollable urge to purge - to clear out cupboards and, in true "Messie Manual" style, pack away, give away, throw away. While I was sorting through one particularly messy corner cupboard, the little ones were becoming increasingly irritable and bored. I had just put aside two old phone books I was going to put in the trash later, but decided to have a little cheap fun with it first. The children were SHOCKED to see me tear out pages with gay abandon and merrily throw them in the air. But it only took them a second or two to recover, and they jumped right in and joined me!
Belly-giggles and jolly shrieks galore!!


I'm out of here!

Tuesday, November 30, 2010

CLEAN MUD!!

     Oh my goodness, did we have fun this afternoon!!! A while ago I wrote down a recipe for clean mud, and when boredom seemed to be looming on the horizon earlier today, I rallied the troops and we all had a hoot making a batch of the stuff.


Here's the recipe:


  1. Tear about 1 and 1/2 rolls of toilet paper into squares and place in a large, shallow tub.
  2. Grate half a bar of white baby soap, and add to the toilet paper.
  3. Add about 5 cups of warm water.
  4. Stir with your hands until creamy. It will take about 15 minutes to get a really creamy consistency, but the little people got impatient, so we quit after about 7 minutes and got on with playing!
I put them in the bath tub with the tub-o'-mud between them and they had a blast! (Next time we will do it outside, though, as the soap made it all very slippery)


I was surprised at how well the mud kept it shape - it felt like working with a nice, creamy clay. We made a batch of mud pies, and even a tower. The highlight was when I hosed them down with the shower head afterwards!!

 There was little dots of clean mud EVERYWHERE, because we had SO much fun squelching it between our fingers and watching it fly! I don't DARE suggest it until they are much older, but this stuff will make the best ever kleilatte! (I am not sure if there is an English word for this?) As children we used pot clay to make a little ball which we formed around the tip of a willow branch and used as ammunition in kleilat-battles!! I know there must be someone just about fainting at this suggestion, but we spent many a Friday afternoon squealing with the excitement of a kleilat-battle, and proudly showing off our bruises afterwards.


I am linking this post to ABC & 123's Show and Tell


LinkWithin

Related Posts with Thumbnails